I have decided to keep a diary about my gardening year. I figured posting the various steps I take here will make a diary, and perhaps give you some ideas to work with on your own. I will include dates, and notes, for my own edification. Your timing will very likely be different even if you live just down the road.
The small print is "default" on my site building program, so I'm going to use it on this page to save time.
February 6, 2020 until February 9, 2020
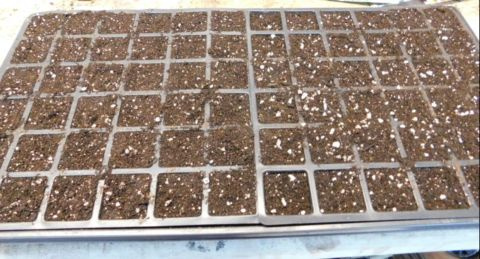 Two days before planting, I sift my "Pro- Mix Starting Soil, patted down well. | 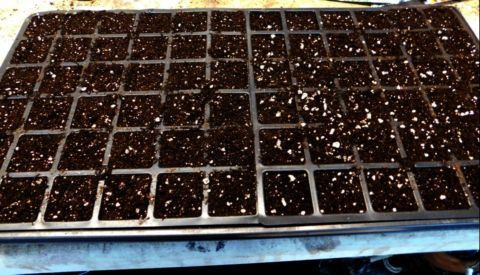 I add 2 quarts water to the tray, cover with plastic cover, and wait. Ready to plant. |
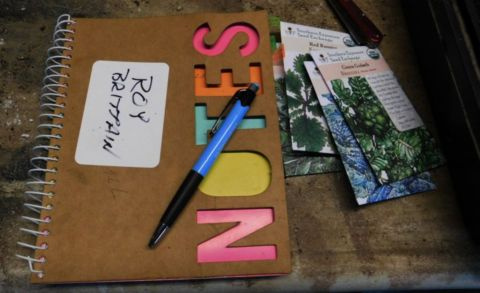 | February 8, 2020 Outside temperature is 28 degrees with 20 +/- mph wind. A good day to be doing something inside. <<<<<<<<<<<<<<<<<<<<<<<<>>>>>>>>>>>>>>>>>>>>>>>>>> Things you need (what I use). My schedule/note book, pen, seeds, and tape to reseal seeds. My prepped trays. A small bamboo skewer for handling individual seeds. Plastic lid to hold seeds while planting. Plastic labels made from picnic knives (cheap). Ultra-fine marker for labeling. | 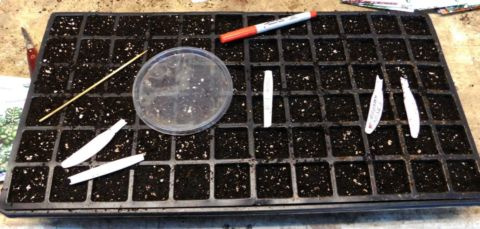 |
Attitude is everything when planting seeds, or working with plants. I make a point of relaxing to the point of meditation.
I pick the seed with the flat end of the skewer (dampen it slightly) and place one seed in two opposite corners of each space.
In the tray on the left, I have 24 red cabbage, 24 white cabbage, 36 cauliflower, 36 broccoli, and 24 kale seeds. (144 total).
When these become about 2 inches tall, I'll transplant to larger containers for about 5 weeks.
They can then be planted onto raised beds with a plastic or fabric cover depending upon the weather at that time.
With a "Last Frost Date" of May 15, I should be about 6 weeks ahead of normal planting schedules.
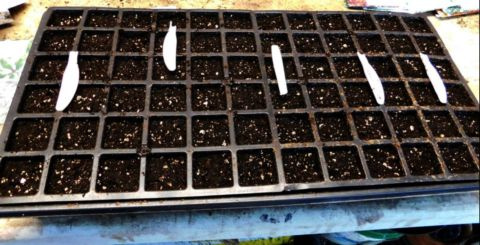 | I plant each seed about twice the recommended depth. Once I have planted all of one variety, I use my finger to compress the soil to about 1/4 inch below the top of the tray. This insures the seed has good contact with the soil, i.e. water in the soil. (See note below) <<<<<<<<<<<<<<<<<<<<<<>>>>>>>>>>>>>>>>>>>>>> I place the plastic cover on the tray. Ready for grow lights and heater if necessary for germination. | 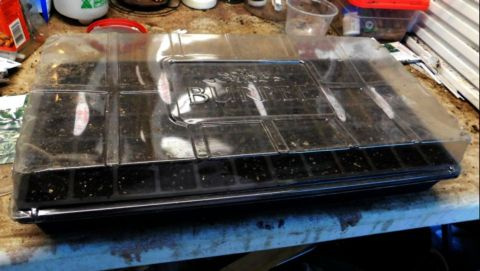 |
NOTE: A seed is very much like the zygote formed when an oocyte and sperm is united in mammals. It is only dormant. Once that seed is placed in the soil with adequate water (its womb), it will do just what nature intended for it to do, begin growing. Planting seeds could be likened to embryo transfer in mammals. We're just providing what they need. For instance, some seeds need more heat than others to germinate, or break dormancy. Some require cold, even freezing temperatures for a period before germinating in warmer weather (ginseng, other herbs).
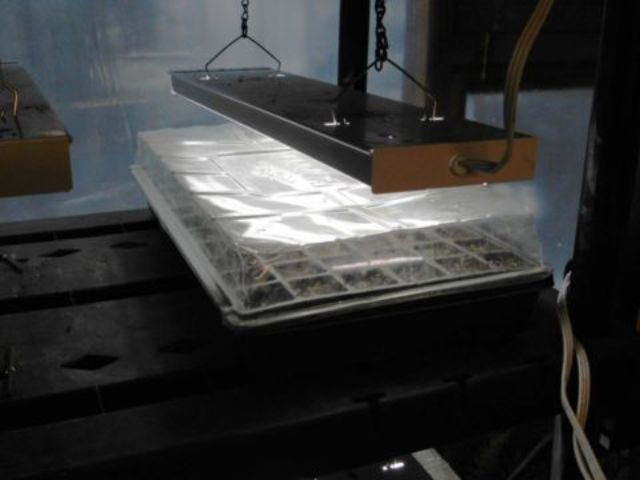
The plastic top shall be removed once the seeds have sprouted. Plants will be transplanted to larger containers when about 1 1/2 inches tall.
NOTES:
Open seed packets by slitting the BOTTOM. Reseal with clear tape. This keeps all info visible.
Depending on the quality of the picnic knives, I use diagonal wire pliers and "nip" from two sides. Otherwise, they tend to crack lengthwise.
I DO NOT use the raised platforms which come with Burpee planter kits. I do use the pads to evenly water the trays. Cardboard also works for this.
 Click to edit